
The rise in internet use has now opened the gate for connecting with the audience personally. However, where there are possibilities, there is competition. With the massive popularity of the internet, thousands of products are too. Moreover, eventually, there are promotions and marketing strategies. Email marketing is a productive way to promote brands and engage prospects and customers.
Gary Thuerk of Digital Equipment Corporation sent out the first mass email to 400 clients in 1978. He claimed to have generated $13 million in sales. As a result, he demonstrated email’s high potential as an effective marketing tool. Email Marketing campaigns have evolved over the years from mass email blasts to strategic, highly targeted messages since Thuerk’s first email.
In this article, we will discuss anything and everything you want to know about email marketing and introduce you to tried and tested best email marketing software 2025, so you do not have to worry about how they work.
What is Email Marketing
Email marketing is an ancient but powerful form of marketing that entails sending emails to prospects and customers. This effective strategy can be used for various purposes, such as increasing conversions, promoting products, or generating interest and loyalty to your brand. Email is a critical strategic channel for nearly every industry and one of the most effective ways to convert people into customers.
According to research, organizations receive an average ROI of $36 for every dollar spent.
Source: Litmus
Email marketing is a type of marketing in which you can inform customers on your email list about new products that you have added to your business, discounts, and other services. It can also be a softer sell to enlighten your audience on your brand’s worth or keep them engaged in the interim. It also plays an essential role in your marketing strategy regarding lead generation, brand awareness, and relationship building.
Is Email Marketing Effective
Emails are a required part of the growth and management of your business, from order
confirmations to newsletters. Email marketing can help you achieve significant goals.
- It Helps You In Conversions
Are you launching a sale or promotion? To increase sales, you can send an email marketing campaign to your subscribers. Additionally, try the following email marketing techniques to increase conversions.
Use coupons or special offers for subscribers birthdays or anniversaries and use them as a way to retain your audience.
Similarly, when a visitor adds an item to their cart but does not check out, abandoned cart emails are sent, which can be annoying. So plan it in a catchy mail or strategically so the user can revisit their cart.
- It Helps You To Promote Your Brand
One of the significant advantages of email is that it allows you to communicate with someone directly. It is excellent one-on-one communication. And these days, people do not just let anyone into their inbox. It is a carefully curated space for your favorite brands and publications.
Appearing in someone’s email inbox will keep your brand fresh in the minds of your subscribers. A personalized marketing email has a more significant impact than a social media post because you never know who saw your message.

Scalability is a part of email marketing. This means that large numbers of emails can be sent to a small number of recipients while remaining cost-effective.
- It Helps You To Get Loyal Buyers
The email encourages customer loyalty at all stages of the buyer journey. Lead nurturing, conversion, onboarding, and retention. Email marketing is also essential in conjunction with sales CRM systems to streamline communication.
- ROI
Email marketing continues to provide any online channel’s highest return on investment. If you run your performance and measure your email marketing activities correctly, they will become a reliable source of revenue for your company. One of the crucial benefits of email marketing is tracking performance and presenting data to demonstrate ROI. This is especially important if your marketing budget is limited and every decision must be data-driven.
But your ROI depends on the fundamentals mentioned below.
- Size and quality of your email list
- Content relevance
- Design and copy
- Persuasiveness
How To Calculate ROI on Email Marketing
Calculating the return on investment in your email marketing activities is simple. All you have to do is keep track of total revenue and divide it by total spending.
For example, suppose you made $200 in sales and spent $30 on an email marketing campaign. You will calculate the ROI of your campaign as follows.
| Type | Calculation |
|---|---|
| Total Revenue | $200 – $30 = $170 |
| Spent | $30 |
| Return on Investment (ROI) | ($170 / $30) * 100 = 566.66% |
The Downside of Email Marketing
- Spam Mails
Commercial emails, also known as spam, irritate customers. If your messages are not being delivered to the right people, the recipient may delete or unsubscribe. You must ensure that your email marketing complies with privacy and data protection regulations and is appropriately targeted to people who want to receive it. Untargeted emails are likely to have very low click-through rates.
- Design Problems
Your email must be designed so that it appears as it should across multiple devices and email providers. You may encounter a trade-off between design and functionality. Some people opt to receive text-only emails; consider how your message will look if this is the case.
- Size Concerns
The file size must be small enough to download quickly. Emails with a large number of images may take too long to load, which results in frustrating your recipients and losing their interest.
Marketing Email Types
Different messages achieve your brand’s goals, from automated emails to
weekly newsletters. You can combine them to create an all-encompassing email marketing strategy. Email campaigns serve a specific purpose, such as promoting a special offer, encouraging users to download a whitepaper or e-book, or signing up for a free trial.
Email newsletters are sent regularly to subscribers to provide regular updates.
A newsletter may include new blog posts or case studies, a product update or
recent milestones discussion, or a listing of upcoming events.
Marketing emails are scheduled to be sent automatically based on predefined triggers. You could, for example,
send a welcome email to new subscribers, and a celebratory email to subscribers celebrating their
birthdays, and a reminder email to customers who have abandoned their shopping carts.
Alternatively, you could send a drip campaign that nurtures leads and persuades them to buy. It depends on whichever email automation system you select for your business.
How to Market via Email
Now that you have learned the basics of email marketing, it is time to learn how to create effective marketing emails in five easy steps.

- Set A Realistic Goal
Firstly, you need to understand that any promotional or marketing strategy can not give you overnight success. Everything takes time and for good usually. You must ensure you use the right approach and let your hard work speak for you. For starters, try focusing on the emails with the highest open rate so your business can be noticed.
To understand the nature of marketing, assume you want to create a welcome email that greets new subscribers when they signup and offers them a discount code for their first purchase in your online store.
According to Email Marketing Benchmarks, welcome emails have the maximum engagement, open rate, and click-through rate. To avoid setting the bar too high, let’s say your goal is to launch a welcome email campaign with an open rate of more than 60% and a CTR of more than 15%.
- Analyze Your Audience
You must now decide to whom you will send your email campaign. In this case, the target audience is simple, every new person who joins your email list. It could be anyone else, such as people who have visited your store in the last 30 days but have not placed an order or who have recently purchased from you but have not left a review. Before writing copy and designing email templates, consider who your target audience is.
- Draft a Template
Now is the time to put your creative hat on and craft that email. Don’t worry; you do not have to be a designer or a copywriter to create effective email campaigns. The most important aspect is to always consider your target audience and the goals you have set for your campaign. Using premade templates will save you a lot of time while ensuring that your emails look great on all devices and email clients.
- Schedule Your Emails
After creating the emails you want to send, it is time to schedule them so that the emails reach the appropriate audience at the appropriate time.
If you wanted to send a one-time email blast, you could do so right away or schedule it for later. You could also change the send time to match your subscriber’s time zone.
- Analyze and Improvise
Give yourself at least 24 hours after sending a one-time marketing offer before analyzing your open rates, click-through rates, and conversions. This allows your recipients to respond to your message and place their order.

Remember all the significant factors that could have influenced your results when analyzing your email. These factors are the subject line, your offer, your target audience, the email template you used, the time you sent out the campaign, and any external factors that could have also been important. With this information, you can begin brainstorming new ideas and planning future campaigns that will yield even better results.
What is Email Marketing Software
Email marketing tools allow users to create, send, and monitor emails to their mailing lists. Using software makes it easier to create well-designed emails and gives you access to key metrics like open rates and click-through rates.
Email marketing software usually offers different plans based on the number of contacts you have. The cheapest plan typically costs between free and $50 per month. The most expensive plan can cost thousands of dollars per month. Most plans include a two-week free trial and discounts for users who pay annually. The price plans determine the number of features you require and how actively you engage in email marketing.
Best Email Marketing Software 2025
Now that you have looked into all the basics of email marketing, it is time for some action. Companies and businesses use email marketing software because it is easier to use and can provide more functionality on one platform. Here we will deep dive into the 10 best email marketing software to use in 2025 and compare them to one another, so you can decide which is best suited for your needs.
SendinBlue 🔵
Sendinblue offers a free plan with many features, including email templates, automation workflows, phone support for starters, and up to 300 emails per day. Web tracking and lead scoring are among the advanced automation included. Unlike other email marketing tools, they charge based on the number of email marketing campaigns you send instead of based on the number of contacts. Paid plans begin at $25 per month for up to 20,000 emails.
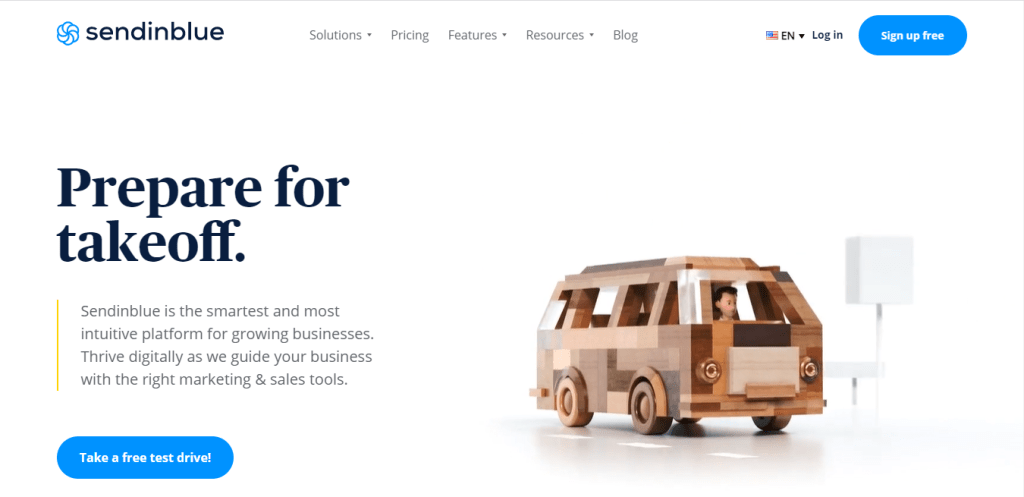
- SignUp on SendinBlue
The signup process on the website is effortless. It asks for your email address and password. Once you click on signup, it will send you a verification email to your mentioned address. When you confirm your email, the website will ask you for your personal details and verify your mobile phone number by sending a verification code. After successfully entering the details, you will land on a page that looks like this.
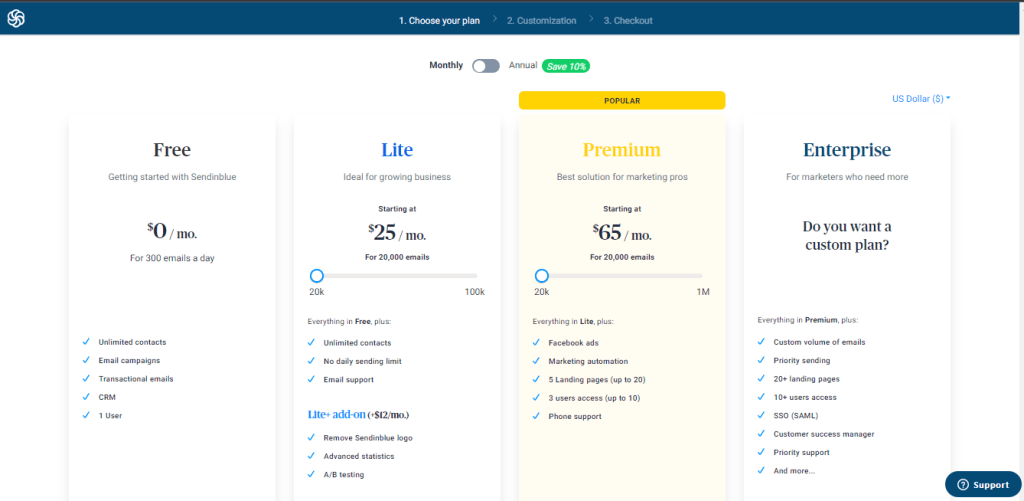
As you can see, there are three steps, and the first is to choose a plan. Here, all the prices are mentioned, and you can choose according to your requirement. But the plan starts from free, so if you are just starting, go with the free plan and test the platform.
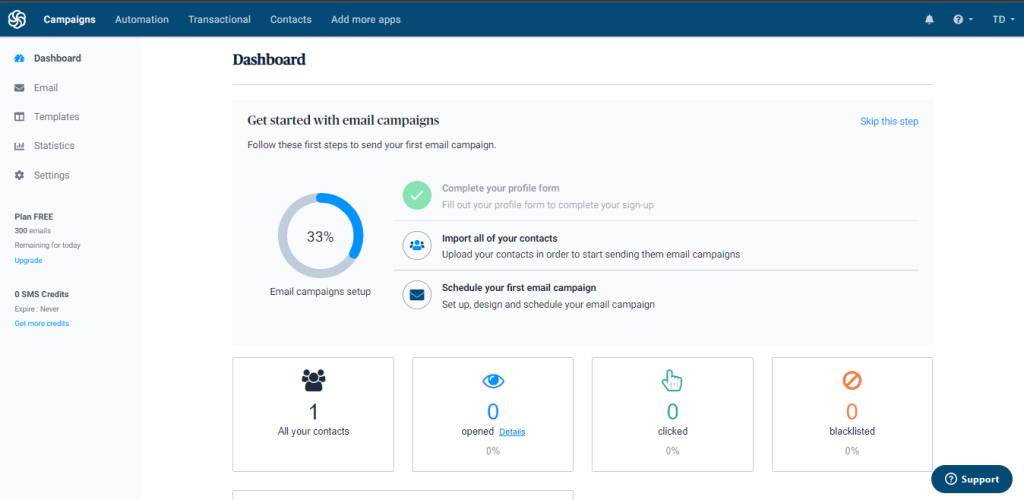
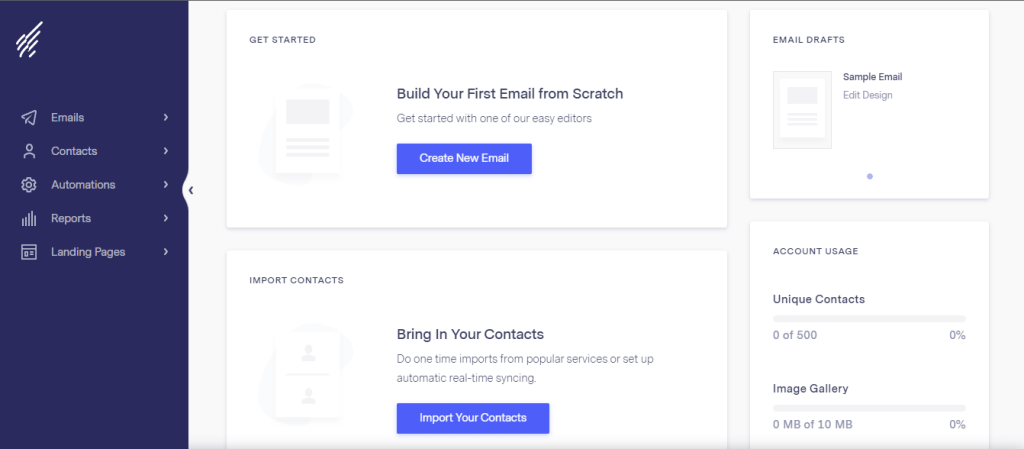
After you select the suitable plan, it will redirect you to the dashboard, where you can import all your contacts and prepare an email campaign. The website provides a detailed analysis once you have set up your email campaign, like how many emails are viewed, how many are clicked, and from where you are now blocked.
MailerLite 🟢
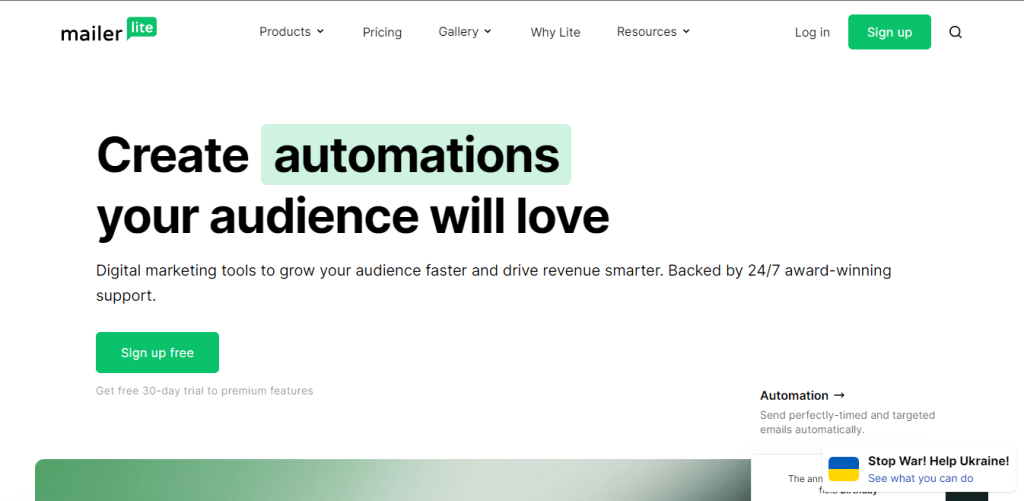
MailerLite is a low-cost email marketing program. It was established in 2005 and has multiplied. Every month, over 800,000 businesses use MailerLite. MailerLite allows you to send your subscribers emails, promotions, and newsletters. However, it can host web pages, send emails, and do other things. The majority of time spent in email marketing software is spent on email creation, so it must be good. MailerLite doesn’t let you down.
- A robust email marketing platform with numerous features
- A powerful email editor with over 60 modern email templates
- Simple to use with several advanced features
- SignUp on MailerLite
The signup process on the website is quite simple. It asks for your name, organization name, email address, and password. Once you fill that in, it will redirect you to complete the email verification process and ask for your personal details. One of the great things about the website is that it asks for your interests so that you can check all that is relevant.

Once you are done with all the questions they initially asked to personalize your experience, you will land on the dashboard screen.
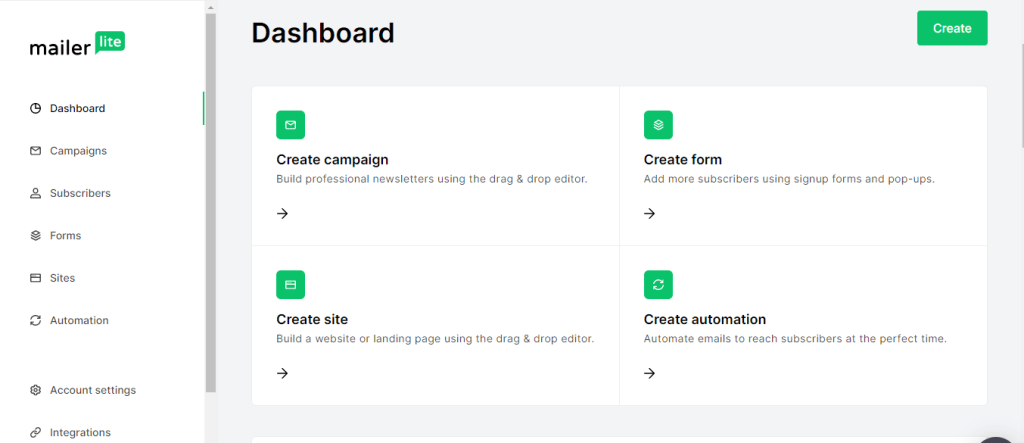
There are different sections on the dashboard where you can analyze your performance and check the campaigns you have created. It helps with all the calculations and percentages for you.
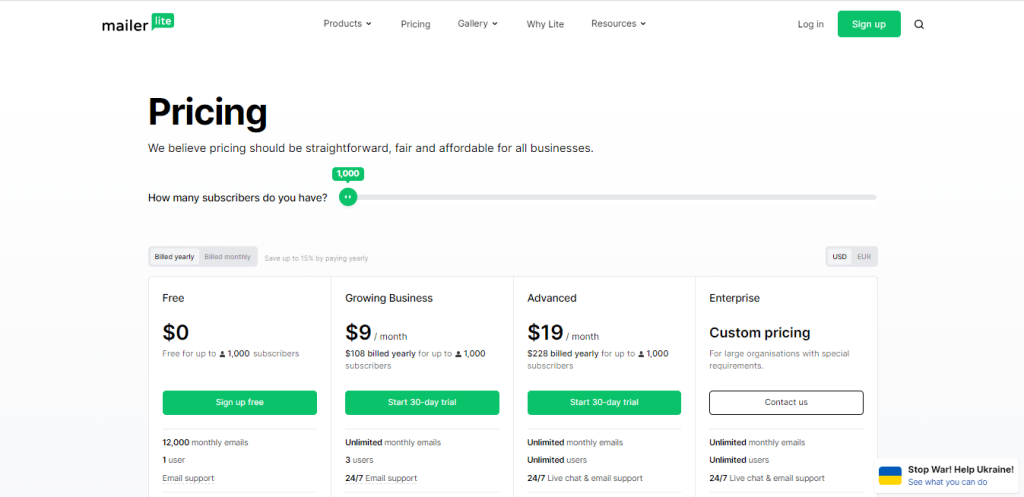
The pricing on MailerLite is self-explanatory. It asks for the number of subscribers you have and calculates the cost accordingly. Their plans are curated so that you can choose a free plan if you have a limited number of subscribers.
HubSpot 🟠
HubSpot’s Marketing Hub includes many features and tools to help you attract, engage, and delight your target audience. However, the in-depth data analytics and engagement reports distinguish HubSpot from other CRM databases, allowing your marketing, sales, and service teams to work collaboratively and efficiently. Every tool and feature in HubSpot complements and enhances the use of another, and the platform’s all-in-one design combines functionality and simplicity for the entire business.
With a drag-and-drop editor and simple personalization, you can create, edit, and send bulk emails, such as newsletters, directly from within HubSpot. The free tool allows you to send up to 2,000 emails monthly with Hubspot email marketing.
- SignUp on HubSpot
The signup process is as simple as creating an account on Facebook. It asks for your organization name and a few other questions to personalize your experience. Once you have completed your account setup, you can land on the email marketing section of a website that looks like this.
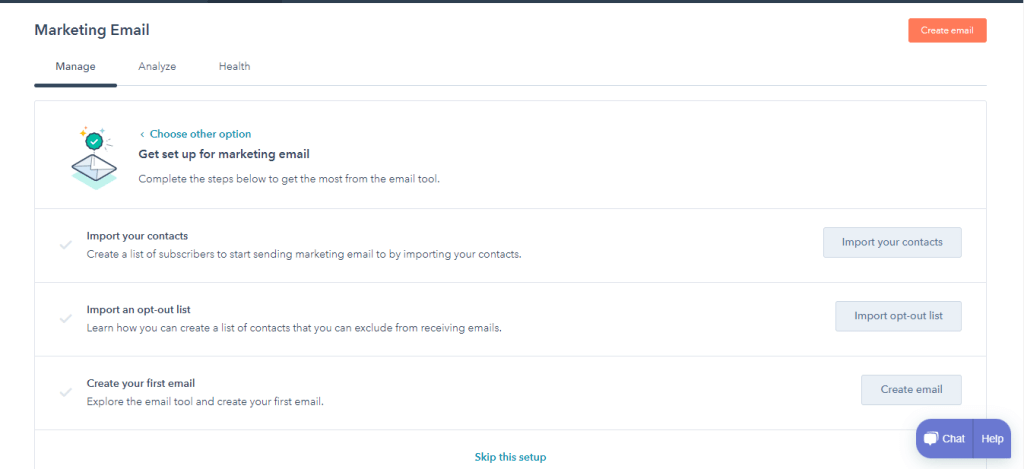
There are layouts on the website, so you can just add the relevant content and start sending emails. But you can create an email for yourself as well.
Marketing Hub Starter is by far the most affordable. You can get all its features with 1,000 marketing contacts for just €46 per month. You can upgrade without going to Professional or Enterprise if you want more marketing contacts. You are charged per 1,000 additional marketing contacts. You pay €92 per month if you have 2,000 marketing contacts in your CRM. So you pay €46 for every 1,000 additional marketing contacts.
Moosend 🔵
Moosend is an email marketing platform that assists small businesses in running successful marketing campaigns. Moosend’s automation workflows outperform many of its similarly priced competitors. On the other hand, customer support in their free plan is only available five days a week and does not include phone or priority support. It also has a limited number of third-party integrations and pre-designed templates. Easy-to-use email marketing platform ideal for small businesses looking for industry-leading features without the high cost.
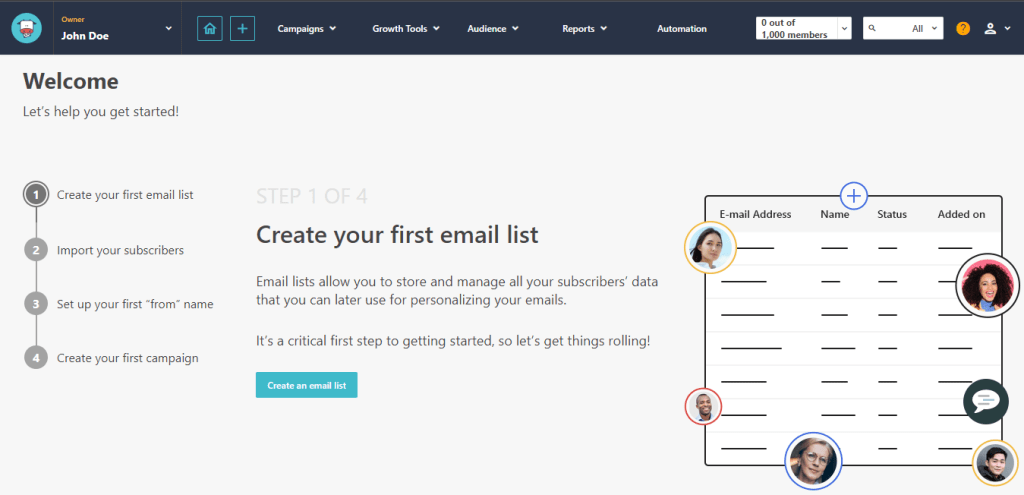
- SignUp on Moosend
The signup process requires your business email address and answers a few relevant questions to help a personalized navigating experience. After you have signed up, you will land on the following page.
ActiveCampaign 🔵
ActiveCampaign provides nearly everything you need in a newsletter marketing tool, and their advanced automation is difficult to beat. The entry-level plan starts at $9 per month for up to 500 subscribers, paid monthly, while the Plus plan starts at $49 per month and includes pro features such as an in-built CRM, lead scoring, landing pages, and SMS sending. Marketing automation is one of their key features. Aside from autoresponders, which can be triggered by various conditions, you can also use their CRM software to automate lists, contact management, and deals.
- SignUp on ActiveCampaign
The signup on this platform is more straightforward than others. It requires no verification email or code on a mobile number. Once you provide the initial details, it will redirect to the page where you can customize your campaign.
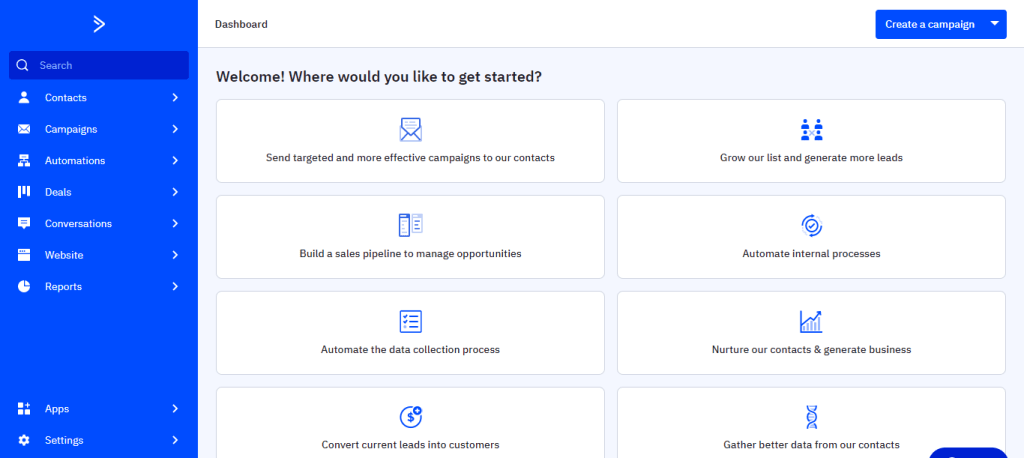
With all of your information and activity in one place, you can quickly get a comprehensive picture of how your sales and marketing initiatives are performing. Not having to use multiple providers for your various digital marketing efforts may also save you money.
OmniSend ⚫
Omnisend is a marketing automation platform designed specifically for eCommerce. With email marketing at its core, creating beautiful email campaigns is easier than ever. Omnisend has extensive integration with popular eCommerce platforms such as Shopify, Shopify Plus, BigCommerce, Woocommerce, and others, making it ready to use immediately.
Unlike other platforms on the market, Omnisend enables you to reach out to your customers by incorporating multiple channels into the same automation workflow, including email, SMS, push notifications, and many more. To provide an immersive customer experience, you can also sync your segments to Google and Facebook retargeting ads.
- SignUp on Omnisend
The sleek and minimal aesthetic of the website makes it easier to navigate. The signup requires your name, email address, business details, and address. Once you are set up, you can go for email marketing campaigns.
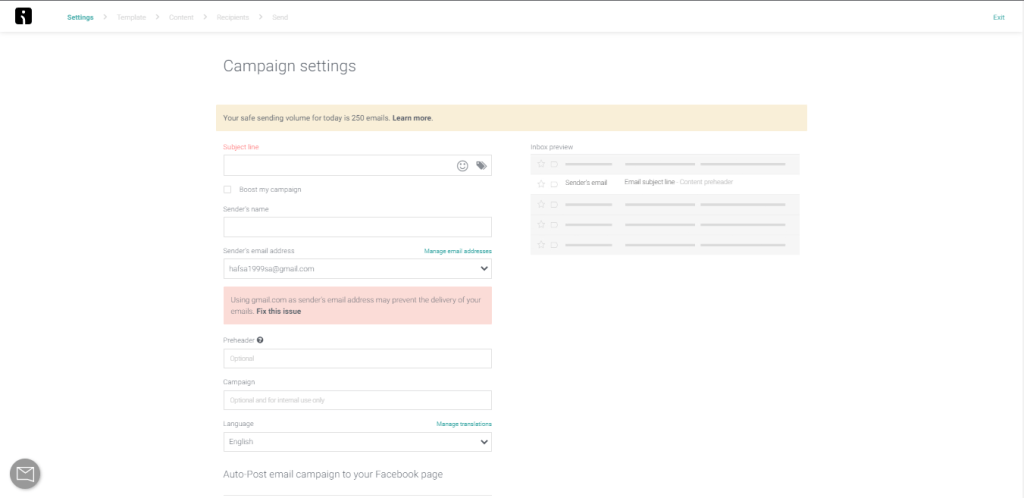
To start your email marketing campaign, you need to define the details of your email. One unique feature is that you can connect your social media account to automatically publish your email campaign to your social media.
The platform provides free email services that include 500 emails per month. But the paid plans details are as follows.
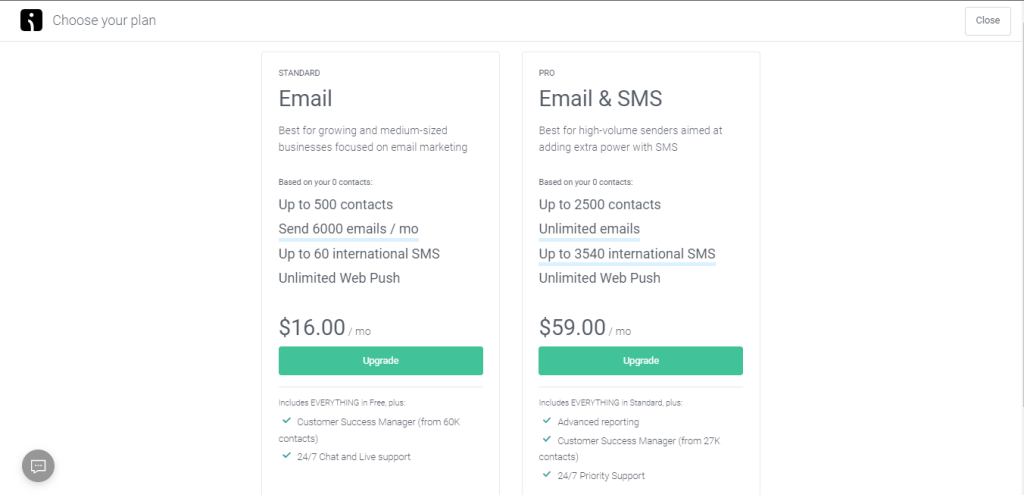
Keap 🟢
Keap is a customer relationship management (CRM) platform ideal for small business owners and those new to this software category. The platform includes sales and marketing automation, making it particularly useful for new e-commerce businesses looking for a one-stop shop.
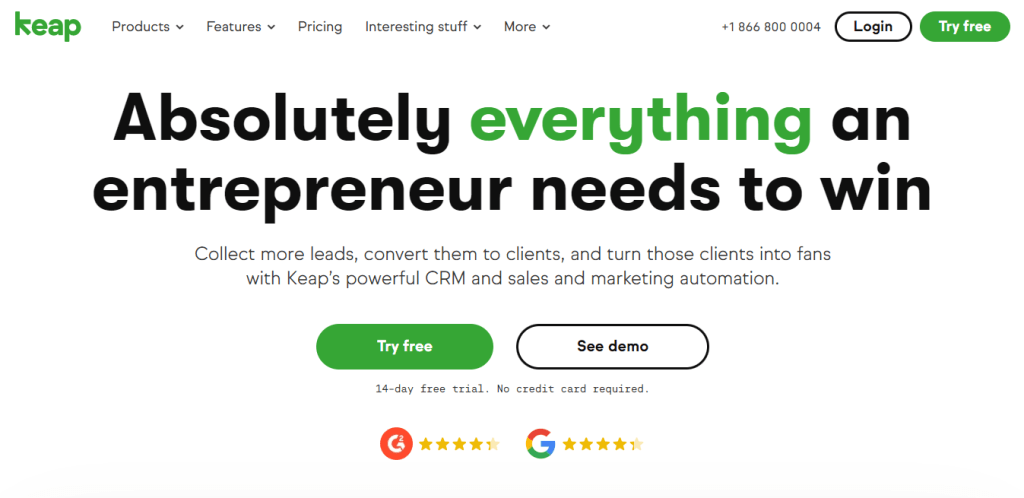
The platform offers checkout cart features to increase conversion rates and average cart values, built-in invoicing, and numerous payment processing integrations. The platform’s simple automation saves customers an estimated 10 hours per week by eliminating manual tasks like texting and emailing follow-ups and recording new leads immediately after they fill out a form on your website or social media account.
- SignUp on Keap
You can set up the system in as little as 20 minutes, and each plan includes a dedicated customer success manager to ensure everything runs smoothly. When you first access a new feature via the CRM dashboard, you will find helpful video tours that walk you through the capabilities. Aside from adding a new pipeline or using other CRM features, you can choose from simple premade templates to customize to your needs. Keap simplifies automation while maintaining a personal touch by assisting you in sending the right messages to leads and clients who engage with your content via emails, forms, and social media.
Mailjet 🟡
Mailjet is yet another best email marketing service of 2025. It includes several fully-designed email templates, a drag-and-drop editor, and transactional email support. The free account is a place to begin your email marketing strategy.
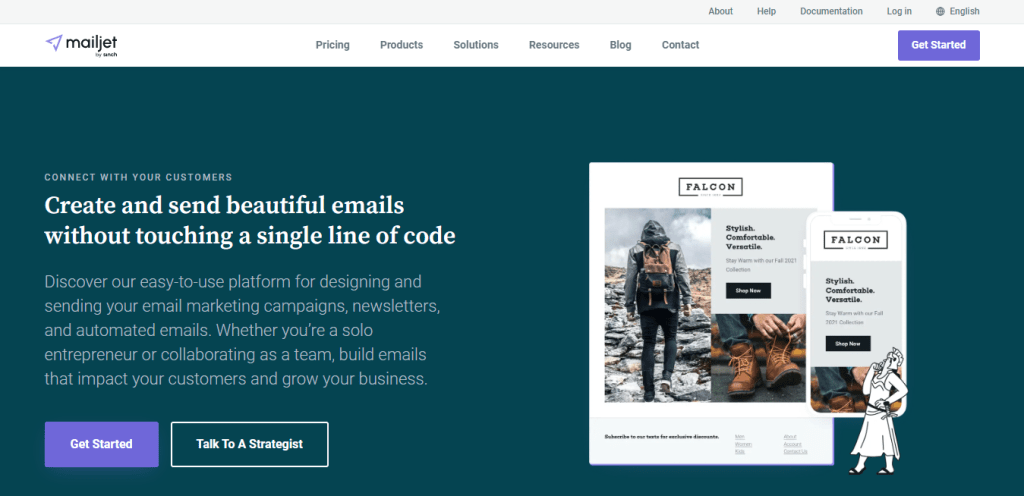
However, Mailjet provides a choice between its Marketer and Developer interfaces during setup. You can hand-code emails, customize premade designs in Developer mode, and create separate versions for the A/B test. You can integrate Mailjet into your app or eCommerce store and configure transactional emails.
- SignUp on Mailjet
The signup on Mailjet is tricky, but it keeps the platform’s integrity intact. While signing up, you must provide detailed information for your website besides your personal information. After providing details, your request will remain pending in the reviewing state.
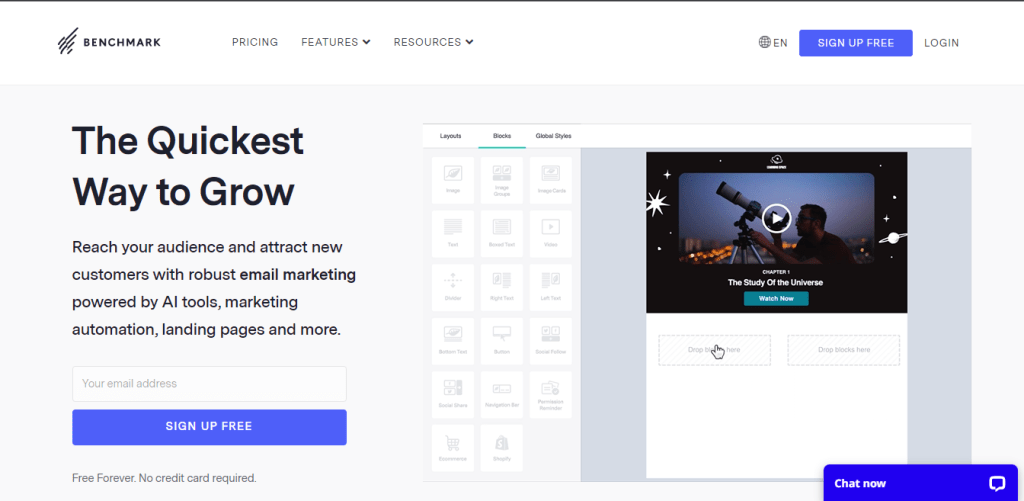
Benchmark Email ⚫
Benchmark Email takes pride in providing international service with a presence in fifteen countries worldwide. Benchmark Email has done an excellent job in terms of user experience and features offered by providing a powerful, simple tool. This is especially true when considering that many of their features are free. Although the number of emails you can send per month is limited to 250, you can store an unlimited number of contacts, so it is not a bad deal.
- SignUp on Benchmark
The website’s signup started by providing a name, email address, and password and verifying that you are not a bot. Afterward, they ask questions about your organization to personalize your user experience. This is where they have a unique style because asking questions through an input box is too mainstream. They have created a chat box in which they ask for your organization details, and you answer them accordingly. This is a simple yet attractive touch to the overall user experience.
After that, you land on the dashboard screen, where you can complete your account setup and start creating your emails.
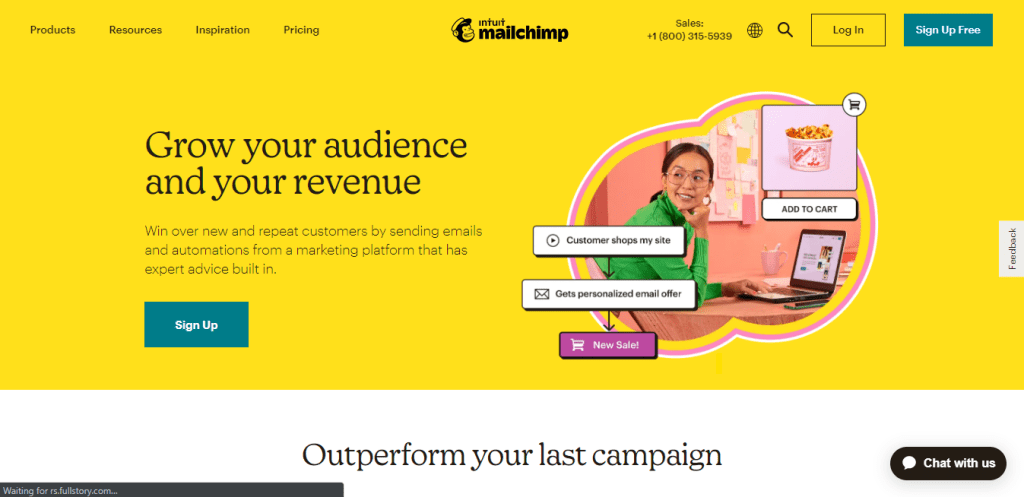
Mailchimp 🟡
Mailchimp is a full-scale marketing platform that allows you to communicate with your clients and customers and manage them accordingly. Mailchimp is a well-known and extensively used email marketing software in the world. Mailchimp, founded in 2001 by Ben Chestnut and Dan Kurzius, now has over 20 million users and is valued at $4.2 billion.
- SignUp on Mailchimp
The signup process starts simply by entering your email address and password. After that, Mailchimp sends a verification code to your email, and then you will land on a page to select your plan.
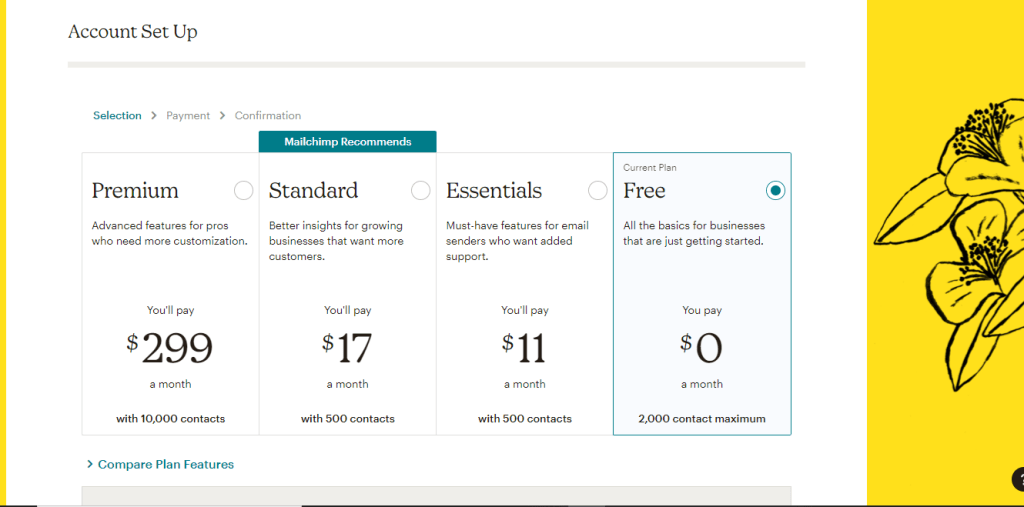
Luckily, they offer a free plan, but the drawback is that it is limited to 2000 contact maximum. Once you have selected the free plan, it will ask for your personal details to give you a personalized experience.
Conclusion
Now that you have learned the fundamentals of email marketing strategy, it is time to take action. Design high-converting email templates if you believe you are ready to run effective email programs to build and segment high-quality lists. And test and optimize your campaigns regularly, choose a suitable tool for your business and start emailing.
Most of these free email marketing tools include robust features even if you do not upgrade to a paid plan. Small businesses and marketers should be able to maximize their use while saving time and money. Even if you need to upgrade to meet your company’s requirements, you will find many of the paid plans which are reasonably priced and flexible enough to fit your needs.
Last Updated: Nov 24 2022